
Recently I have completed a bucket list item of mine: Build a computer! Shout out to https://pcpartpicker.com/. I ended up going off the beaten path due to a user error but in the end, it worked out.
Years ago, I had started to build a tower. I ended up getting the case, the PSU and some RAM but stopped at that. At that time, I did not have a lot of money and told myself I would get around to it but never did. I believe I ended up giving the parts away. Years and years later and I have finally done it! The spark grew in me to pursue this when I was studying for the A+ cert and was watching Jason Dion videos where he was putting a computer together piece by piece.
Below are the parts used/attached:
Case
Straps
Toolkit
Zip ties(never enough zip ties!)
PSU
Additional case fan

It was a learn as I went process. For instance, I ended up putting my RAM together but eventually figured it’s best to space them out in their slots. I also ended up moving my M.2 ssd. Here I’ve added most of the parts but have yet to connect everything.
Below are the parts used:
RAM
Motherboard
M2 SSD
CPU
CPU Cooler
Thermal paste

The most fun I had /s was when I ended up realizing I bought the CPU without the integrated GPU. There were two versions, one with and one without. The link through pcpartpicker did link to the correct one, however, somehow I ended up clicking through and away from it and bought the CPU without. I ended up putting everything together and realized I my mistake once I hooked the monitors up and nothing would come up. I spent hours trying to troubleshoot before I realized this. I believe this might work out for me in the end for performance though. Applying my GPU and I get to the screen I wanted! Excuse the wired mess 😀 At this point I just wanted to see if it worked!
FAN HUB Controller
GPU
I ended up getting my GPU at a great price, around 150 at the time! It has since went up so I got lucky.

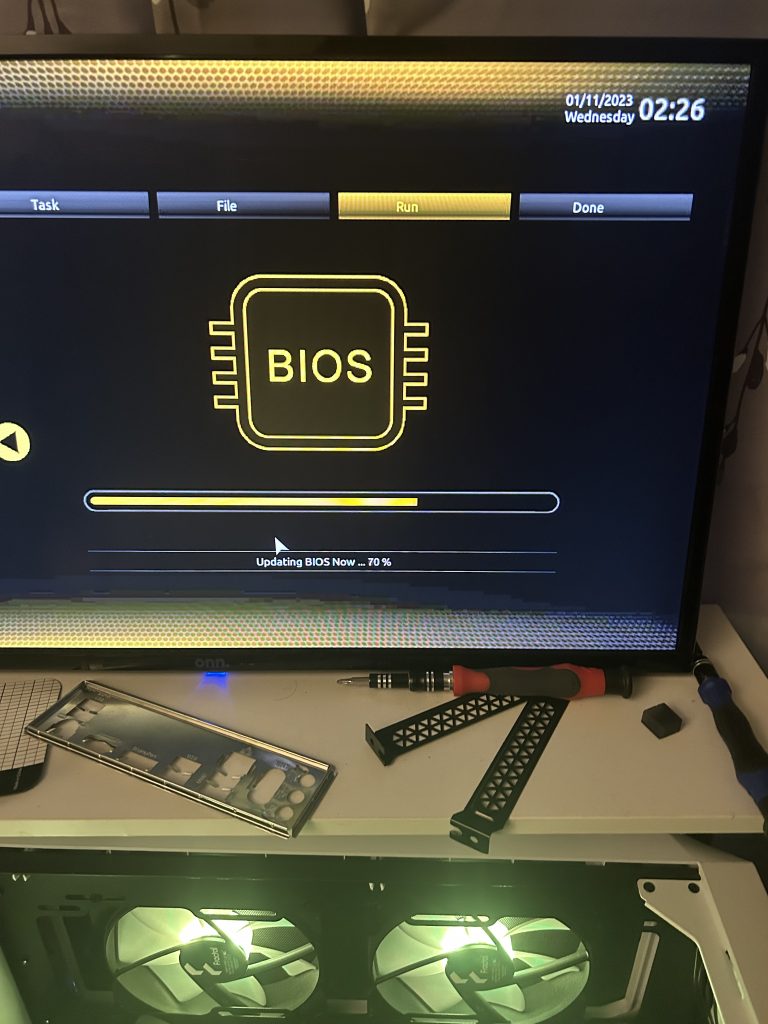
Now that I got it booted up, I needed to update BIOS and upload my OS. I bought a cheap 16GB usb off Walmart.com and downloaded the BIOS update for this particular motherboard. The most recent version was V3. https://www.gigabyte.com/Motherboard/B550M-DS3H-AC-R2/support#Support-Bios. Once I downloaded it, I plugged the usb and ran/updated it. The BIOS picture/logo reminded me of Fallout lol.
Initially, I wanted to to dual boot Windows and Linux. I went to Windows installer and had my 16GB usb ready. While downloading Windows, I kept getting a disk shortage error. I cleared my computer and ended up having over 20 gigs free but it still would not take. I’ve been wanting to get away from Windows as my main OS for a long time so I decided to go with a full Linux OS. I had already had a flavor picked out too: Parrot OS! Hackthebox uses this OS and I’ve installed it on a VM previously. It has had a lot of updates since then.
https://www.parrotsec.org
Before starting this and wiping my Windows laptop(giving this to a family member) I had everything I need uploaded to an external drive and that has worked seamlessly. Back to Parrot OS. Downloading it to my usb did not take long ago. Once I uploaded it to the usb I had to change the boot order to select Parrot OS and load it. I did have issues with this at first. I believe this was user error, as there were various usb select-able options and I did it incorrectly the first time. I tried troubleshooting this via the terminal and with AI to assist in fixing it. But this took forever and eventually I ran into a wall. So instead, I started a fresh boot and reinstalled Parrot, this time selecting a different ParrotOS boot. This time it went through! I’ve updated my Parrot OS to the latest update as well as my packages. I’ve also installed all the tools that I’ve used in Windows and if not, substituted them.

I’ve got everything set up now. I need to tidy it up with more zip ties. I got all of my case fans going. This was a fun experience. Eventually I would like to build one for my daughter. My next plan is start working on some VMs, specifically setting up an Windows Server VM with AD.